Using the New Student Planning Module
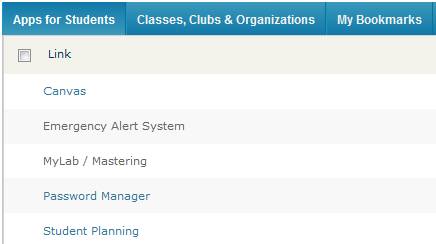
A new Student Planning Module is now available for searching, planning and registering for classes. This new module will take the place of the Student Planning and Registration in WebAdvisor. To access the Student Planning Module, click the Student Planning link on MyBucks under the Apps for Students area. You can also visit the Students menu of WebAdvisor and click the Student Planning link under the Academic Planning category.
MyBucks
![]()
![]()
WebAdvisor
![]()

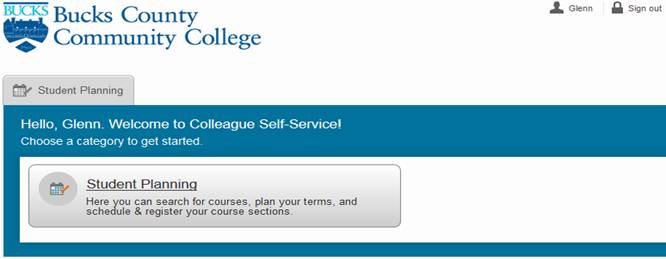
1. You should automatically be logged into your account. Click Student Planning.
![]()

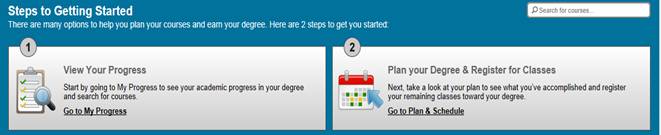
2. When the module page opens, there are the Steps to Getting Started. First, your can view your progress and second, you can plan your degree and register for classes. Additionally, the current Academic Program and the current class schedule are there to review.
![]()
![]()
![]()
![]()
![]()
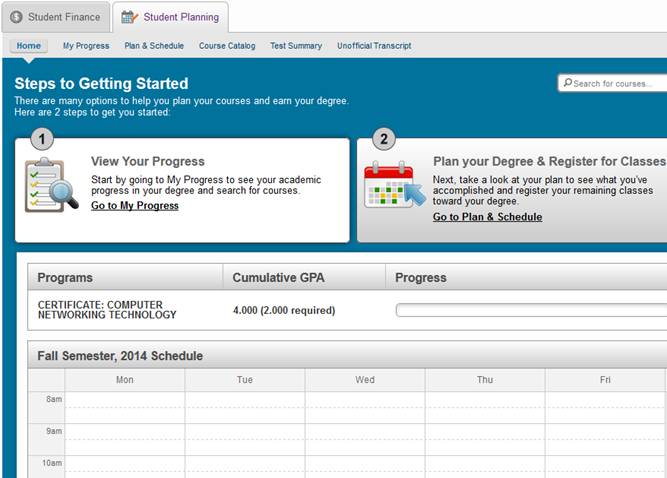
3. To view your progress, click the Go to My Progress link. At the next screen, the following tabs are available: Home, My Progress, Plan & Schedule, Course Catalog, Test Summary, and Unofficial Transcript.
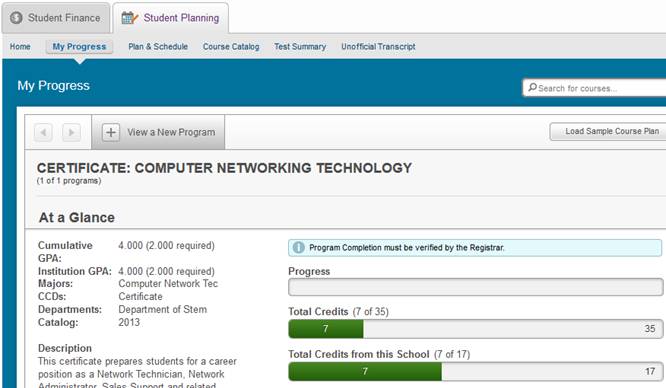
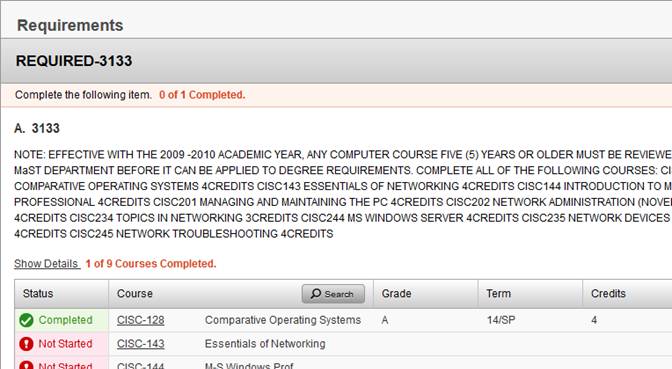
4. My Progress screen lists the total number of credits you have completed, your current GPA, a description of the academic major as well as the Requirements needed to complete your major.
![]()
![]()
![]()
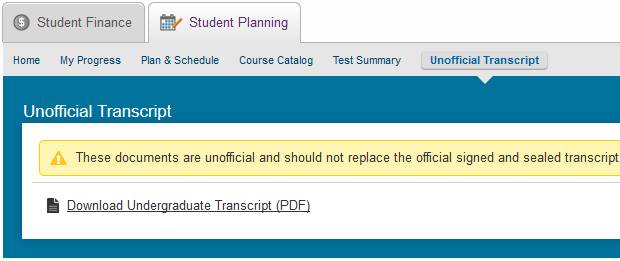
5. The Unofficial Transcript allows you to download a PDF file of your transcript to view or print.
![]()
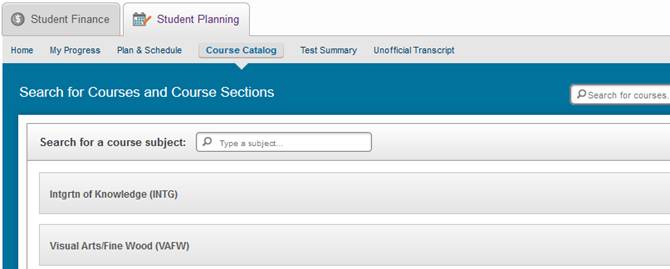
6.
The Course Catalog tab will display all of the
available courses. Click on any category (such as INTG) to expand the details.
You can also ![]() Search
by keywords or subjects such as COMP-110, Human Anatomy, or MATH.
Search
by keywords or subjects such as COMP-110, Human Anatomy, or MATH.
![]()
![]()
![]()
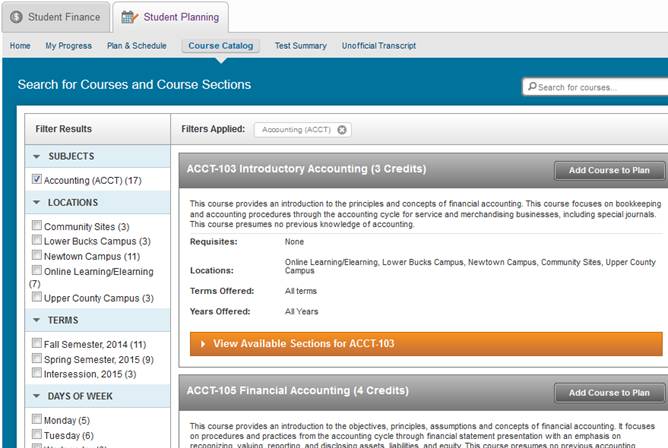
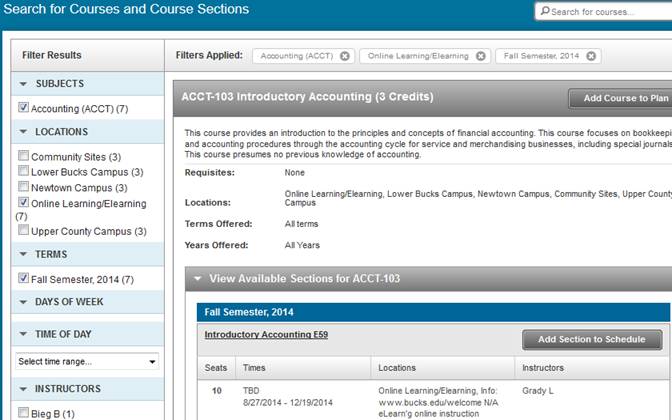
7. The example below shows all Accounting courses. You can add a specific course, such as ACCT-103 to your course plan by clicking Add Course to Plan. Additionally, many Filter options on the left of the screen help narrow the search to match your preferences for campus locations, days of the week and times, modality, and instructors. To create a filter, click in the check box to create the filter.
![]()
![]()
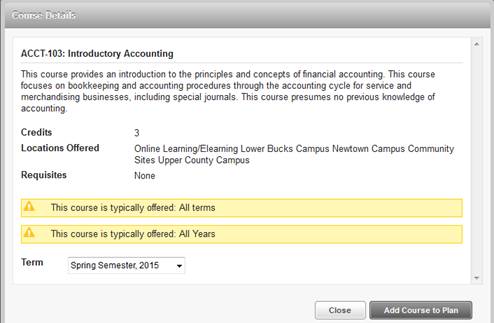
8. Once a course has been added to your plan, the course details for the ACCT-103 in the sample below, are displayed. Choose a Term by clicking the down arrow and then click Add Course to Plan.
![]()
![]()
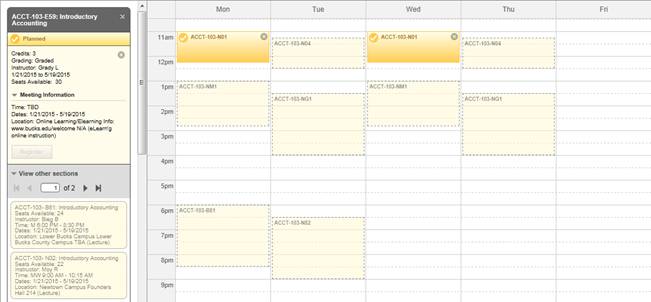
9. The following example below, shows the results of a filter with the options of: Online Learning and Fall Semester, 2014 for ACCT-103. You can add this particular course, ACCT-103-E59 directly to your schedule by clicking Add Section to Schedule.
![]()
![]()
![]()
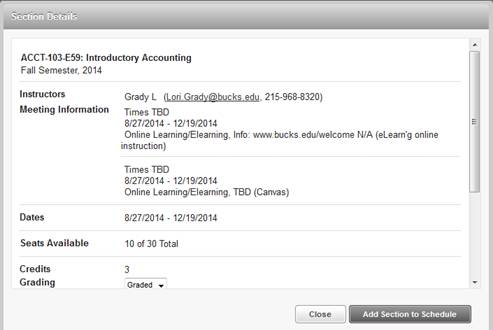
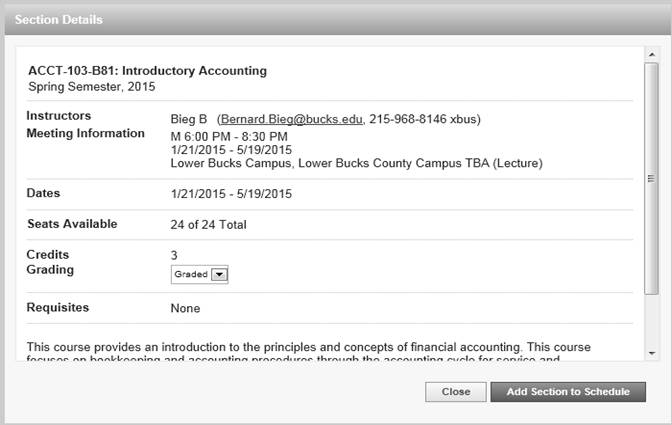
10. A preview window with any applicable details for this course will appear. Click Add Section to Schedule.
![]()
11. The next step is to plan and schedule your courses. At the Home page, you click the Go to Plan & Schedule link.
![]()
12. The following screen will open. Noticed that these courses have been approved by the Advisor and the student is now free to register for the course(s). To select a section, click the View other sections link.
![]()
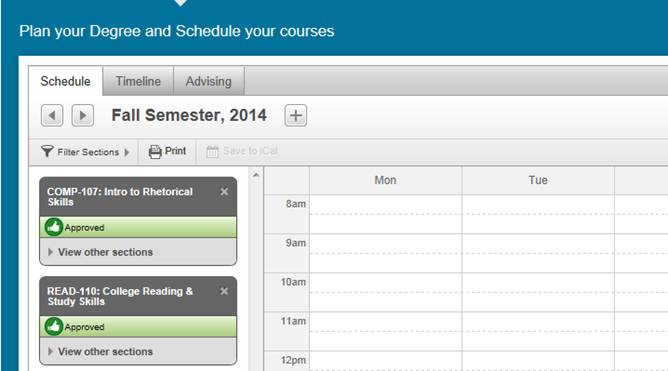
13. When the View other sections opens, the calendar fills with the available sections from which to choose.
14. To select the section you want to register for, click the section in the calendar. The following detailed screen will open. Click the Add Section to Schedule.
![]()
15.
You now can click on the Register Now button
![]() .
.